This section walks you through setting up HAR file support for mobile testing.
Limitations
The following limitations apply:
- When using this feature together with Network Virtualization profiles, the HAR file will not reflect the traffic on the virtual network. Only the traffic to the actual Internet is included in the HAR file.
-
Perfecto only captures ports 80 and 443.
-
Certificate Pinning is not supported.
Install the certificate
When generating the HAR file, Perfecto uses a proxy to capture the information and generate the HAR entries. The use of the proxy requires that a mitm certificate is installed on the Perfecto Lab device.
To install the certificate:
- Select the device to install the mitm certificate on.
The certificate must be installed on the device used later for the HAR file generation. - Run a short Perfecto automation script (see below).
The script browses to the certificate installation wizard. - Suspend the Automation script.
- Use Interactive mode to follow the certificate installation wizard.
- Complete the Automation script.
Perfecto automation script
Following is the Perfecto automation script that browses to the certificate installation wizard. It stops for 3 minutes to allow time for performing the proxy installation in manual mode.
You may also want to read our article on sharing a device session with an IDE script.
Network virtualization start(generateHarFile: true)
Wait(Wait duration: 2)
Browser go to(URL: http://mitm.it)
Wait(Wait duration:180)
<< during this three minute suspension follow the Wizard instructions, see below >>Network virtualization stop
Selenium automation script
Following is a Selenium script that starts network virtualization and browses to the certificate installation wizard. It stops for 3 minutes to allow time for performing the proxy installation in manual mode.
{...
    Map<String, Object> params = new HashMap<>();
    params.put("generateHarFile", "true");
    // Start the network virtualization
    driver.executeScript("mobile:vnetwork:start", params);
    // browse to the mitm site
    params.clear();
    params.put("url", "http://mitm.it");
    driver.executeScript("mobile:browser:goto", params);

    Thread.sleep(180000);  //three minute suspension, perform Wizard installation in manual mode, see below

    //End the network virtualization
    params.clear();
    driver.executeScript("mobile:vnetwork:stop", params);
...
}
Install the proxy
During the Wait period, after the device browser navigates to the mitm.it site, perform the following steps in interactive mode:
-
Select the OS of the device as the proxy version to install.
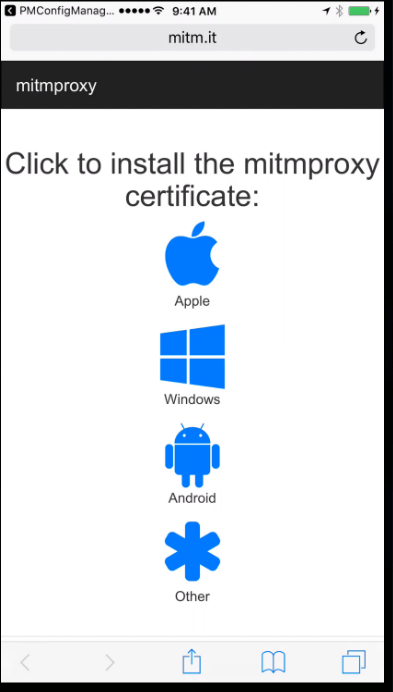
For Android devices, continue with Android installation.
For Android devices, if an old page is saved in the cache, Google Chrome may not display the expected page. In this case, close Chrome and re-open it.
For iOS devices, continue with the following steps.
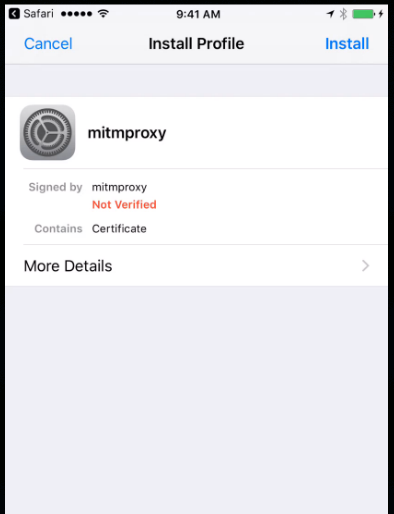
- If the Install Profile does not open automatically, go to Settings > General > Profile > mitmproxy to open it manually.
-
The wizard displays information on the proxy trust status. Click Install (upper right).
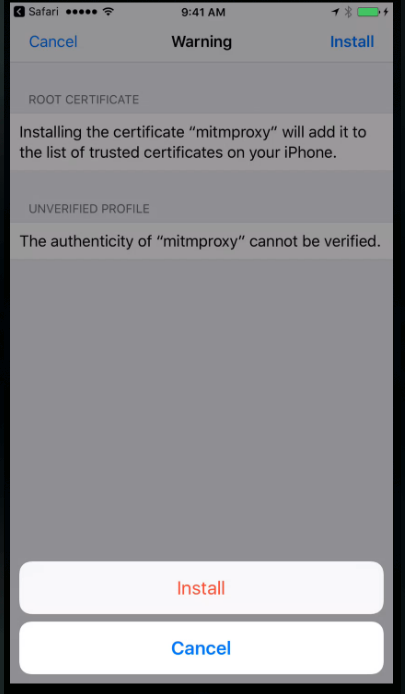
-
The wizard displays a warning message regarding the trust status of the installation, Click Install.
-
When the installation completes, the wizard displays the updated certificate status of the proxy. Click Done.
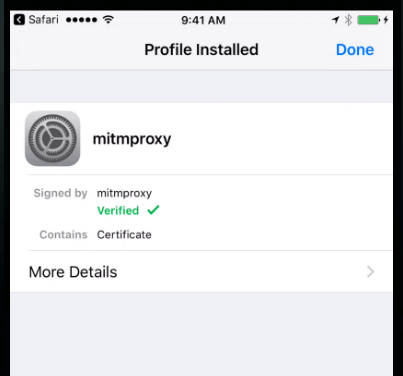
- For Apple devices running iOS 10.3 or later, continue with the Trust Proxy procedure. Other devices are ready to run.
Trust the MITM proxy
On iOS devices, you may need to verify that the system trusts the installed proxy.
- After installing the proxy with the Wizard (as detailed above), open the Settings application.
-
Click General > About.
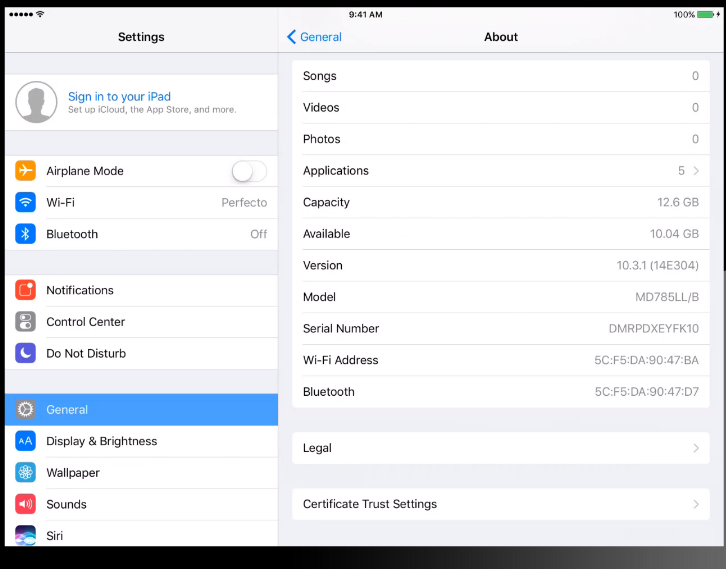
-
Click Certificate Trust Settings.
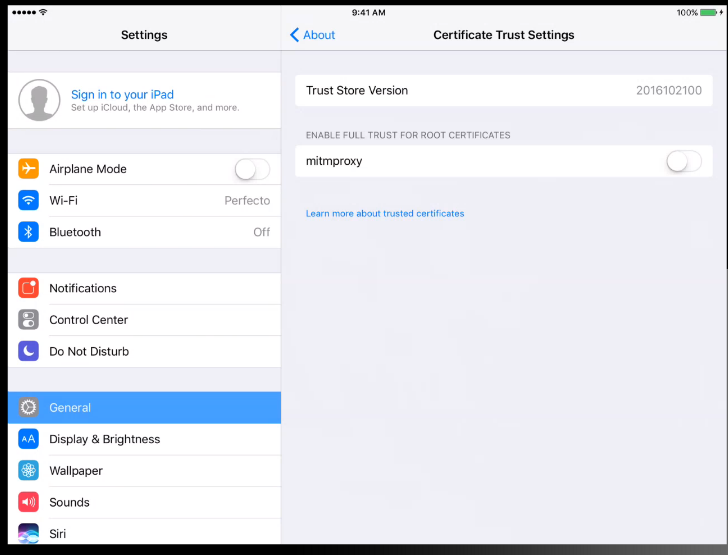
-
Set the trust setting for mitmproxy to True (selected). The system displays a warning message.
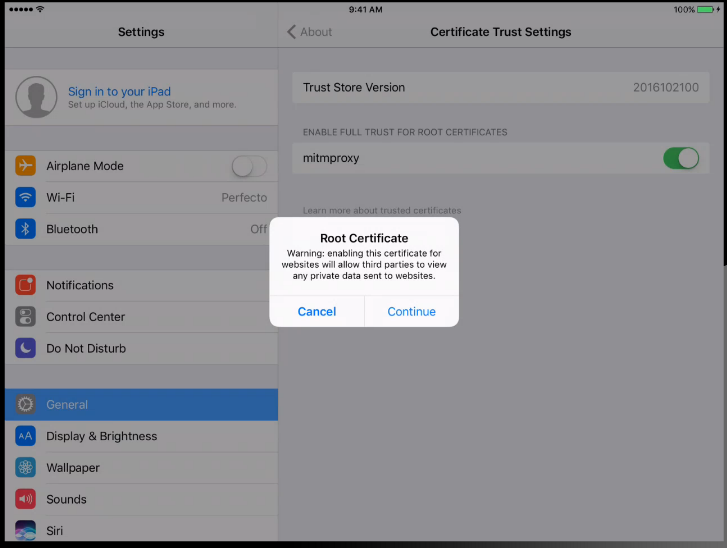
- Click Continue. The proxy is now trusted.
Manual Android certificate installation
To install the certificate on an Android device, perform the Automation script procedure and then navigate to the mitm.it site and select Android, as follows:
-
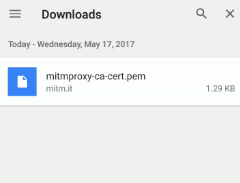
Open the downloaded file, by either by clicking Open when the filename is displayed at the bottom of the browser or by opening the Downloads window of the browser (from the browser options menu).
-
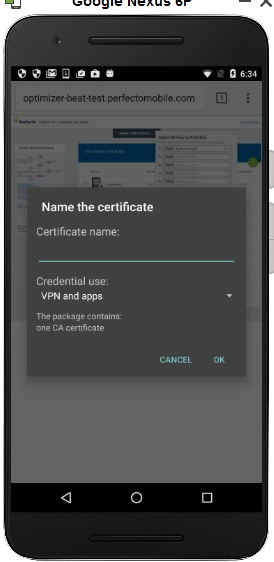
The installation prompts for a certificate name. Supply any name (for example "mitm") and click OK.
- Android may require that you set up an unlock credential PIN for the device. If you receive the following message, continue to the next step.

-
Click OK on the message and the system will present different options for the unlock credentials.
If the device you are working with supports fingerprint identification, the system will present options that include the use of Android Imprint. Select the option to not use Imprint.
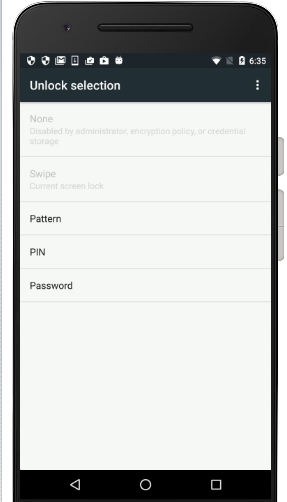
-
Select the PIN option. The system prompts to enter a new four-digit PIN code. Click Continue.
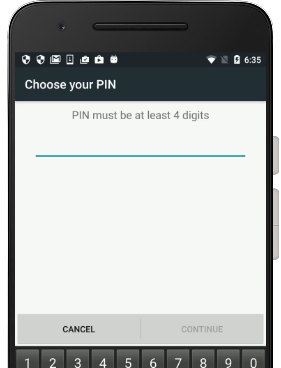
-
Confirm the PIN on the next screen and click OK. The certificate is automatically installed.
On Android 11 devices, due to tightened restrictions around CA certificates, a Can't install CA certificates message appears. To overcome this issue, do the following:
-
Go to Settings > Security > Credential Storage > Install from device storage.
-
Tap CA certificate.
-
At the bottom of the warning message that appears, tap Install anyway.
The certificate is installed and a CA certificate installed. message appears at the bottom of the Install from device storage screen.
-
When you are finished recording the HAR file, you can disable the Screen Unlock PIN code - use Settings > Security > Screen Lock and select None.
However, passcode can be removed without uninstalling the MITM certificate from the devices based on the Android 6 and up only.
If you need to remove the PIN from an Android 5.1.1 device, the MITM certificate should be removed first.
Activate the network virtualization
-
Use the Network virtualization start command in your automation script, setting the generateHarFile parameter to True.
In Native Automation, use the command from the Services/Network Virtualization folder in the Functions tab.

-
For Selenium/Appium scripts, use the mobile:vnetwork:start command in the driver.executeScript() method.
CopyMap<String, Object> params = new HashMap<>();
params.put("generateHarFile", "true");
// Start the network virtualization
driver.executeScript("mobile:vnetwork:start", params);
// Add your script code here
//End the network virutalization
params.clear();
driver.executeScript("mobile:vnetwork:stop", params); - Include whatever network navigation steps needed in your automation script.
- Add the Network virtualization stop command at the end of your script.
- Run the script.
Next, retrieve the HAR file.