Learn how to run XCUITest tests with the Perfecto Gradle Plugin against real devices in Perfecto. To run an XCUITest test with Perfecto, you should:
- Be familiar with XCUITest
- Have existing tests to work with
- Be a novice user of Perfecto
The Perfecto Gradle Plugin allows you to:
- Select a device or multiple devices from the Perfecto Lab to run Apple XCTest/XCUITest.
- Install the application and test files onto the selected devices.
- Run the test methods on the devices.
- See the progress of the test set on the console.
- Access the Report Library to view the results of the tests.
Setting up the Gradle plugin involves these tasks:
- Installing the Gradle plugin to prepare the build.gradle file
- Configuring parameters through a configuration file (recommended).
- Activating the plugin, understanding the output, and connecting to Smart Reporting execution reports
The following steps assume that the Xcode application and test files are available in the local disk storage. In this example, we use Apple Xcode to prepare the application files.
Each Gradle task supports the following actions:
- Reading of Perfecto configuration parameters that select the devices to install and run the instrumentation tests
- Installing the application, testing
.app/.ipafiles on Perfecto Lab devices, and running the test methods - Generating output to the Gradle console and the Perfecto single test report (STR) report
A sample project is available here: https://github.com/PerfectoMobileSA/PerfectoXCUITestProject
On this page:
Prerequisites
Before you get started, make sure you have installed the following:
In addition, you need access to the Perfecto Gradle plugin. You can download it either automatically, after adding the required lines of code to the build.gradle file, as described in step 2 below, or, if your organization does not permit direct download, by pre-downloading it to a local libs folder (see also Install the Perfecto Gradle plugin manually).
Restrictions
The Perfecto Gradle plugin is not backward compatible. Make sure you always use + in the classpath to get the latest version of the build. Add the following line to the dependencies section in the project-level build.gradle file:
classpath "com.perfectomobile.instrumentedtest.gradleplugin:plugin:+"1 | Get started
The starting point is a local Xcode project without Perfecto configuration: https://github.com/PerfectoMobileSA/PerfectoXCUITestProject/tree/master/LocalXCUITest.
To get started:
- Clone the project: https://github.com/PerfectoMobileSA/PerfectoXCUITestProject/tree/master/LocalXCUITest
- Open Xcode.
- Choose the LocalXCUITest workspace.
- Perform Product > Clean and Build.
- Fix any signing-related issues.
2 | Configure the project for Perfecto
In this step, we prepare the application files and add the following new files to the project:
- A build.gradle file that will specify the required Perfecto dependencies
- A JSON configuration file that holds all Perfecto configurations, including security information, the Perfecto cloud name, Smart Reporting information, and test data.
The updated project is located here: https://github.com/PerfectoMobileSA/PerfectoXCUITestProject/tree/master/PerfectoXCUITest. The following procedure walks you through the configuration.
Expand a step to view its content.
Executing XCUITest and XCTest tests involves the following application files:
- application .ipa file: Includes the XCTest unit tests
- UI Runner .ipa file: Includes the XCUITest UI test methods
In this step, you will prepare these files.
To create the files and convert them to .ipa files:
-
In Apple Xcode, change the scheme destination to Generic iOS device.
-
Click Product > Build For > Testing. Once this is complete, open up the Organizer and select the latest version.
-
Right-click the generated .app file in the Project Navigator (in the Products folder) and select Show in Finder.
Finder displays the path to the Products folder and shows the following
.apppackages:-
The application package
-
An app package for the UI tests named *UITests-Runner
-
-
To convert the
.appfiles to.ipafiles automatically, supply the paths of the application package path and application runner path to the appPath andtestAppPathconfiguration parameters, respectively. The Gradle plugin will convert it to an.ipafile.Alternatively, you can also convert each file manually as follows:
-
Create an empty "Payload" (case sensitive) folder and copy the
.appbundle to this folder.If the Payload folder already exists, delete it and create a new, empty folder.
- Right-click the Payload folder and compress it to a zip file.
- Rename the .zip file to <testName>.ipa.
-
In this step, we create a build configuration script called build.gradle that defines the project and its tasks.
// Top-level build file where you can add configuration options common to all sub-projects/modules.

buildscript {
    repositories {
        jcenter()
            maven {
          url "https://repo1.perfectomobile.com/public/repositories/maven"        }
    }

    dependencies {
        classpath "com.perfectomobile.instrumentedtest.gradleplugin:plugin:+"    }
}

apply plugin: 'com.perfectomobile.instrumentedtest.gradleplugin'

perfectoGradleSettings {
configFileLocation "configFile.json"}-
Create a new file named
build.gradle. -
Add the lines that define the location of the plugin library and the dependency on the plugin to the
build.gradlefile. Gradle will look to verify that the plugin is installed before performing the task.This is the recommended configuration method. However, if there are problems using the automatic download method described here, you can download the Perfecto Gradle plugin manually.
Do one of the following, depending on whether the plugin library is already downloaded or you want to locate and download the plugin library automatically:
-
To configure Gradle to automatically locate and download the plugin library, add the following lines to the
build.gradlefile:Copybuildscript {
repositories {
jcenter()
maven {
url "https://repo1.perfectomobile.com/public/repositories/maven" }
}
dependencies {
classpath "com.perfectomobile.instrumentedtest.gradleplugin:plugin:+" }
} -
If the plugin library is already downloaded to a folder (for example the libs sub-folder), add the following lines to the build.gradle file:
Copybuildscript {
repositories {
jcenter()
flatDir dirs: 'libs'
}
dependencies {
classpath "com.perfectomobile.instrumentedtest.gradleplugin:plugin:+" }
}
-
-
Add the line that defines the plugin task:
Copyapply plugin: 'com.perfectomobile.instrumentedtest.gradleplugin' -
Add the following line to load any configurations from the
configFile.jsonconfiguration file.CopyperfectoGradleSettings {
configFileLocation "configFile.json"}
In this step, you create the JSON text file that contains all configuration settings. This is the recommended practice. Configurations include the URL of the Perfecto Lab, the security token to use, which devices to select, which tags to use, and so on.
{
  "cloudURL": "<<cloud name>>",
  "securityToken": "<<SECURITY TOKEN>>",
  "appPath": "Test.app",
  "testAppPath": "TestUITests-Runner.app",
  "devices": [
      {
              "platformVersion": "11.*",
              "manufacturer" : "Apple"          },
          {
                  "platformVersion": "11.*",
                  "manufacturer" : "Apple"              }
  ],
  "tags": [
    "xcuitest",
    "sample"  ],
  "projectName": "IOS-XCUITest",
  "projectVersion": "v10.9-test",
  "appName": "Sample_App",
  "jobName": "some_job",
  "jobNumber": 1,
  "branch": "master",
  "failBuildOnFailure": false,

  "installationDetails": {
    "preCleanUp": true,
    "resign": true
  },
  "postExecution": {
    "uninstall": false
  },
  "acquireDeviceRetryNumber": 1,
  "acquireDeviceRetryInterval": 200,
  "debug": true,
  "runUnitTests": true,
  "runUiTests": true,
  "shard" : false,
  "takeScreenshotOnTestEnd": true,
"testTimeout": "60000" }- Create a configuration file (
configFile.json) as a JSON text file in a known folder. -
Add the connection parameters to the configuration file.
Copy"cloudURL": "<your cloud url>",
"securityToken": "<your cloud security token>"where:
-
cloudURLis the URL of the Perfecto Lab to connect to, but without the.appnotation and without protocol information (http://orhttps://). For example: mobilecloud.perfectomobile.com (but not mobilecloud.app.perfectomobile.com) -
securityTokenis the tester's personal security token for the Perfecto Lab. See also Generate security tokens.
For clouds located in regions other than the US, add theitmsServerUrlparameter, which specifies the URL of the ITMS server. If not specified, the connection by default goes to the UTMS server in the US. To pass a request to another ITMS server, use the valuehttps://itms-au.perfectomobile.comfor Australia orhttps://itms-eu.perfectomobile.comfor Europe.Copy"itmsServerUrl": "<the URL of the ITMS server>" -
-
Add the device selection parameters to the configuration file, as shown in the following examples. For details on platform-specific parameters, see iOS configuration parameters for the Gradle Plugin.
If a device has not been explicitly selected (using the deviceName property) or when numOfDevices is used (without explicitly setting platformVersion), the system automatically selects an iOS device in accordance with the minimum iOS version as defined in your application.
For example, add the following to select:
-
Any available iOS device (based on the gradle task):
Copy"devices": [
{}
], -
Specific devices, such as two devices where one is an iOS device of version 9.3 or later (using a regular expression) and one is randomly selected by the Gradle plugin:
Copy"devices": [
{
"platformName":"IOS",
"platformVersion":"^[9]\\.[3-9].*|^[1-9][0-9].*" },
{}
] -
A number of random iOS devices:
Copy"numOfDevices": 20
-
-
Add the reporting parameter settings to add tags to the execution report. For more information on adding tags, see Tag-driven reports (RTDD workflow).
Copy"tags": ["plugin", "xctest", "demo"],
"projectName": "playground",
"projectVersion": "1.5",
"jobName": "newFeature",
"jobNumber": "45",where:
-
tagsis the set of tags to associate with the execution. -
projectNameis the name of the project, for classification. -
projectVersionis the version number assigned to the project for this build. -
jobNameis the CI identification of the build, used for classification of the report in the CI Dashboard. -
jobNumberis the CI job number of the build.
-
-
Add the application parameters to identify where the application files are located.
For our iOS application, these are:Copy"appPath": "SimpleAppForTesting.ipa",
"testAppPath": "SimpleAppForTesting-Runner.ipa",where:
-
appPathis the path to the.ipaor.appfile for the application and unit tests. If the parameter links to an.appfile (Xcode output), the plugin first converts this to an.ipafile before installing it on the device. -
testAppPathis the path to the UI test application runner.ipaor.appfile. If the parameter links to an.appfile (Xcode output), the plugin first converts this to an.ipafile before installing it on the device.
-
-
Save the configuration file.
3 | Run the plugin and view the report
In this step, you run the Perfecto Gradle plugin and view the test report in Perfecto.
- The report only includes a single test step that includes all commands.
- It is not possible to add custom failure reasons from within tests.
- The video shown is for one execution, but the report artifact you can download includes all executions.
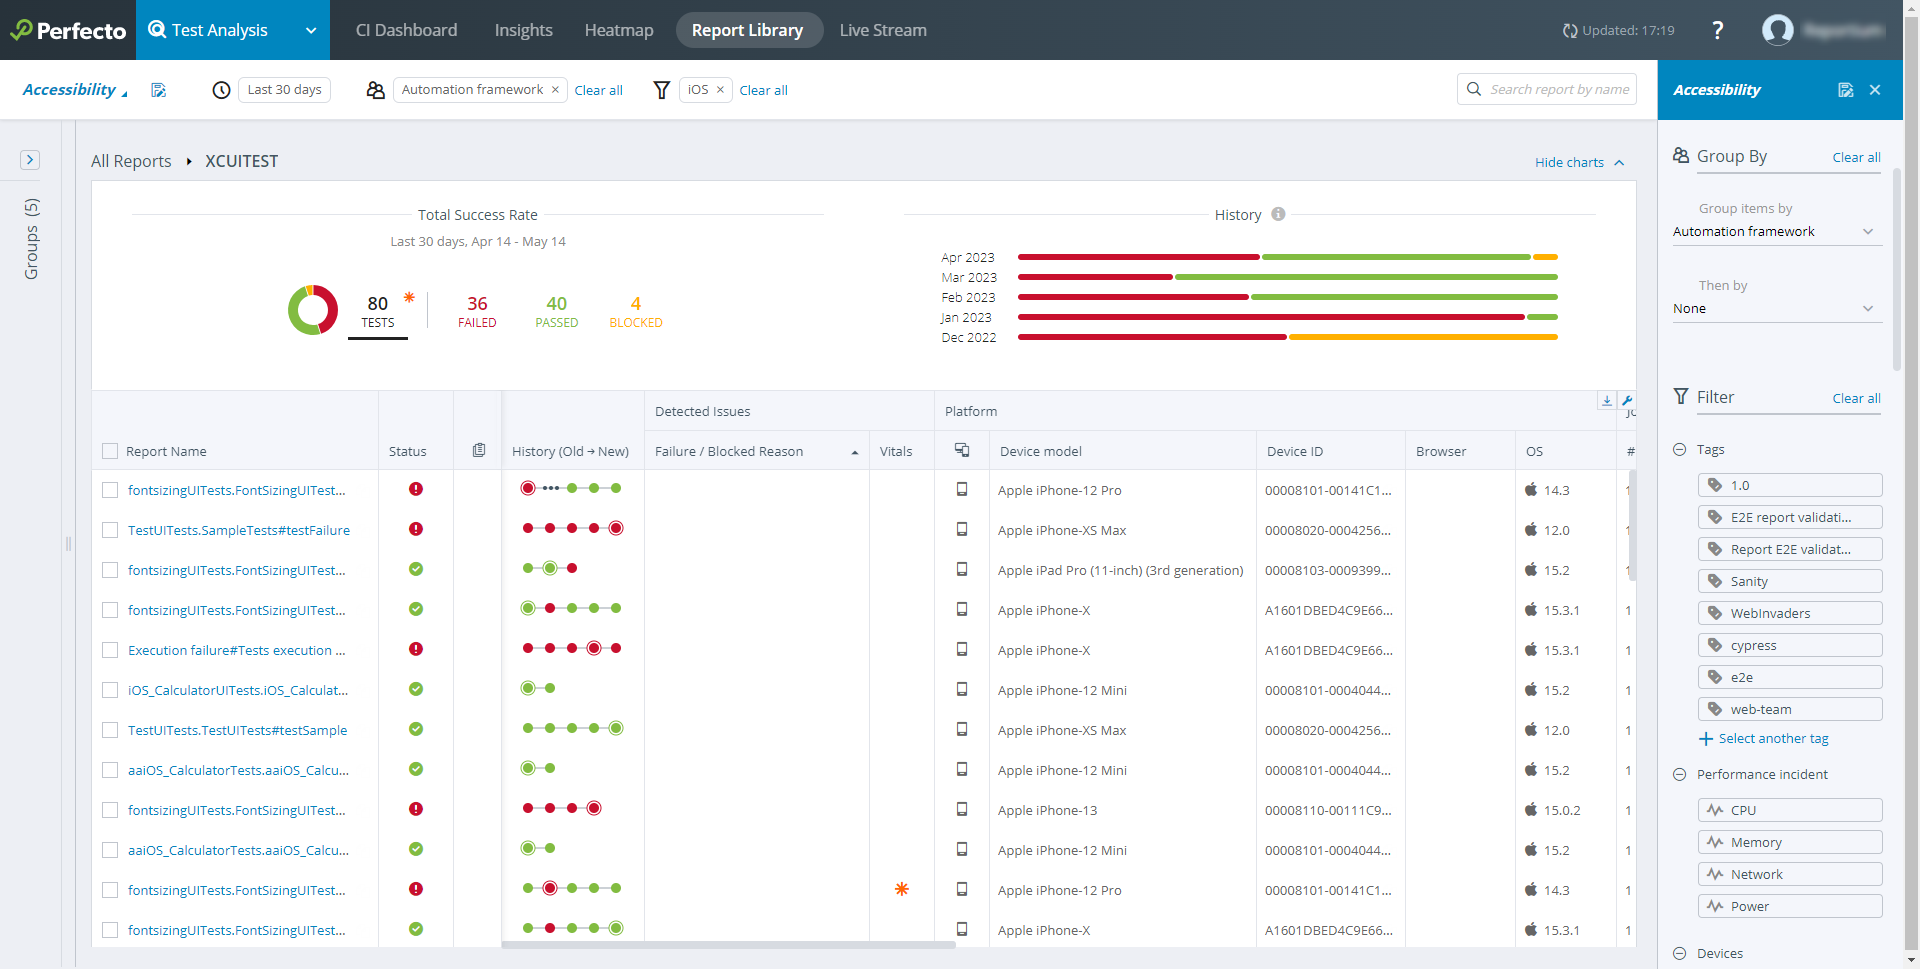
For more information on Smart Reporting, see Test analysis with Smart Reporting. For details on the STR, see Single test report (STR).
Expand a step to view its content.
-
Open a command-line (terminal) window in the folder where you want to execute the plugin.
-
Execute the plugin using the following command:
Here we also supply the full path to the configuration file created in step 3. You can add other configuration parameters (except for device selection) to the command as needed.
This will:
-
Select the devices as specified in the Device selection parameters of the configuration file (or a random device if no specification is provided).
-
Install the application and test the application files on the device.
-
Run the test methods (based on the configuration parameters).
-
Send output to the console window.
-
Generate an execution report that can be viewed in the Test analysis with Smart Reporting interface.
The command-line parameters can set any of the configuration parameters, except for device selection parameters. For more information, see iOS configuration parameters for the Gradle Plugin.
For information on running the Gradle plugin over a proxy connection, see Proxy connection.
During the execution, the plugin reports on the progress of the execution and the completion of each test method to the command-line window.
CopyStarting a Gradle Daemon (subsequent builds will be faster)
:perfecto-xctest
Parsing configuration file: configFile.json
Parsed configuration file configFile.json successfully
Starting Execution
Your management id is: **************************
Acquiring device based on device management info {"deviceName":"<<DEVICE_1>>","platformName":"IOS","platformVersion":"^[9]\\.[3-9].*|^[1-9][0-9].*"}
Device: <<DEVICE_1>> Apple iPhone-6 Plus: Resigning application
Device: <<DEVICE_1>> Apple iPhone-6 Plus: Completed resigning application
Device: <<DEVICE_1>> Apple iPhone-6 Plus: Uploading IPA to device server
Device: <<DEVICE_1>> Apple iPhone-6 Plus: Completed uploading IPA to device server
Device: <<DEVICE_1>> Apple iPhone-6 Plus: Starting video recording
Device: <<DEVICE_1>> Apple iPhone-6 Plus: Enabling instrumented test mode
Device: <<DEVICE_1>> Apple iPhone-6 Plus: Uninstalling IPA
Device: <<DEVICE_1>> Apple iPhone-6 Plus: Uninstalling test bundle
Device: <<DEVICE_1>> Apple iPhone-6 Plus: Installing ipa Sample.ipa
Device: <<DEVICE_1>> Apple iPhone-6 Plus: IPA C:\Windows\TEMP\****\<<DEVICE_1>>\1\Apps\Sample.ipa installed
Device: <<DEVICE_1>> Apple iPhone-6 Plus: Installing ipa Sample-Runner.ipa
Device: <<DEVICE_1>> Apple iPhone-6 Plus: IPA C:\Windows\TEMP\***\<<DEVICE_1>>\1\Apps\Sample-Runner.ipa Installed
Device: <<DEVICE_1>> Apple iPhone-6 Plus: Starting execution of bundle id perf.sample.app
Device: <<DEVICE_1>> Apple iPhone-6 Plus: TestResult{className: AcceptanceTests.HomeScreenTests, methodName: testLoginScreen, status: PASS}
Device: <<DEVICE_1>> Apple iPhone-6 Plus: TestResult{className: AcceptanceTests.HomeScreenTests, methodName: testWelcomeScreen, status: PASS}
Device: <<DEVICE_1>> Apple iPhone-6 Plus: TestResult{className: AcceptanceTests.MessageTests, methodName: testMessageNotShown, status: PASS}
Device: <<DEVICE_1>> Apple iPhone-6 Plus: Disabling instrumented test mode
Device: <<DEVICE_1>> Apple iPhone-6 Plus: Ending test execution
Device: <<DEVICE_1>> Apple iPhone-6 Plus: Stopping video recording
Device: <<DEVICE_1>> Apple iPhone-6 Plus: Closing deviceAt the end of the execution, the command-line window displays a high-level summary report of the completion status for each device. The report includes:
- Resolution of configuration settings: The configuration file used and the list of the configuration settings for the test run
- Progress notifications as the test is configured, installed, and executed, including notifications of the start and completion of:
- Allocating the device
- Resigning the application
- Installing the application and UI runner files
- Executing the test
- Connecting the video recording
- Completion status for each test method on each device
At the end of the summary report, the plugin provides the URL of the single test report (STR) for the execution run.
Copy----------------------------------------------------------------------------
TOTAL SUMMARY
FAILED TO RUN ON 0 devices
RAN SUCCESSFULLY ON 1 devices
----------------------------------------------------------------------------
DEVICE 1
Status: OK
<<DEVICE_1>> Apple iPhone-6 Plus
Results:
0 FAILED
3 PASSED
----------------------------------------------------------------------------
View the detailed report at:
https://demo.reporting.perfectomobile.com/library?tags[0]=**********************
Finished flow execution
BUILD SUCCESSFUL in 1m 21s
1 actionable task: 1 executed
Build step 'Invoke Gradle script' changed build result to SUCCESS
Finished: SUCCESSIf allocating a device fails, the following error message appears:
CopyFailed to execute command handset open: Cannot open device FA6BR0304878 for user myuser@mycompany.com, device is in use.
Command duration or timeout: 1.20 seconds
Build info: version: '2.53.1', revision: 'a36b8b1cd5757287168e54b817830adce9b0158d', time: '2016-06-30 19:26:09'
System info: host: 'nb-user-macosx.local', ip: '172.30.200.19', os.name: 'Mac OS X', os.arch: 'x86_64', os.version: '10.12.6', java.version: '1.8.0_131'
Driver info: org.openqa.selenium.remote.RemoteWebDriver -
To access the execution report, copy the report URL from the summary report on your console and open the URL in your browser.
Proxy connection
If you run the Gradle plugin over a proxy connection, supply the proxy information as follows:
-
As Java parameters when activating the plugin. You can use the same Java Proxy parameters also for proxies supporting SSL encryption.
http.proxyHost: The IP address of the proxy
http.proxyPort: The IP port used for the connection
http.proxyUser: The username for connecting to the proxy server
http.proxyPassword: The password for connecting to the proxy server
For example:
Copygradlew perfecto-xctest -PconfigFileLocation=configFile.json -Phttp.proxyHost=10.0.0.100 -Phttp.proxyPort=8800 -Phttp.proxyUser=someUserName -Phttp.proxyPassword=somePassword
-
As parameters defined explicitly in the
gradle.propertiesfile. For example:CopysystemProp.http.proxyHost=<http-proxy-host>
systemProp.http.proxyPort=<http-proxy-port>
systemProp.https.proxyHost=<https-proxy-host>
systemProp.https.proxyPort=<https-proxy-port>
Samples of plugin use
The Perfecto GitHub repository https://github.com/PerfectoCode/XcTest/tree/master/samples includes different samples that demonstrate how you can use the Perfecto Gradle plugin for the following different modes/configurations:
- defaultSample: An Xcode project containing the needed files for running the Perfecto XCTest task
- localJarSample: An Xcode project configured to run the Perfecto .jar file locally
- buildGradleConfiguration: An Xcode project with the configuration included in the
build.gradlefile - configFilesSamples: Different examples of configuring the plugin using a
.jsonfile. Except for devices, all parameters can be overridden by the command line.
In addition, this repository includes sample projects for running test methods from EarlGrey and KIF. For more information, see KIF/EarlGrey tests.
Troubleshooting
If you encounter issues running the Gradle plugin with an older version of Gradle, consider upgrading to the latest version of Gradle before contacting Perfecto Support.